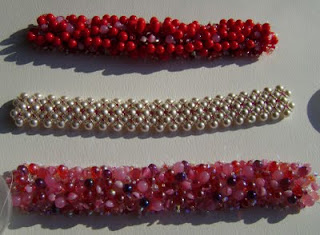
 Above, bracelets without clasps.
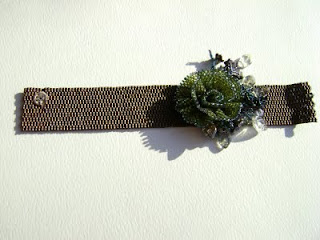 I made this bracelet for my mother years ago. The plastic snaps have broken and the color on the leaves has faded off.
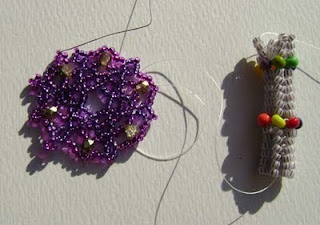 A pathetic snowflake and a herringbone experiment.
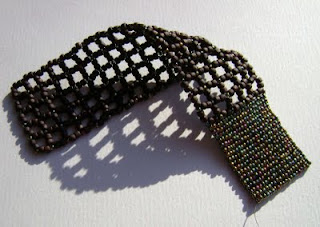 Thought I could make something out of this, but am now stuck on how to finish.
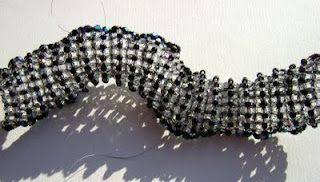 I don't believe this bracelet is supposed to twist and turn. In fact, it's supposed to lay nicely on your wrist with a bit of a curl, just a bit.
 My tension is way off on the bracelet above. It's supposed to be flat and the herringbone is supposed to look braided. In fact, the thread snapped at one point.
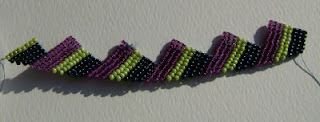 This is supposed to be diagonal square stitch that automatically curls. Mine is straight as can be.
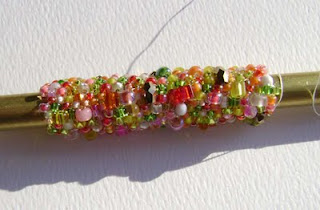 A peyote freeform idea for a bracelet. I just don't like it.
The title of my blog is "Bead Inspired," but lately I haven't had much inspiration. I've been working on a lot of various projects and am unhappy with most of them. Sometimes I have high expectations of how something will turn out, and I'm pretty disappointed when it doesn't. Depending on the project, I will pursue it further, or I may just throw it in one of my unfinished project bins.
One thing I am frustrated with this blog is that the pictures always are above my writing. I have no idea how to start writing above the pictures, even if I write first. So I always feel that I am going back in time, rather than moving forward.
With no further ado, I present a series of unfinished projects, above.
3 comments:
Susan,
This is the way I put writing above photos:
1. Upload photos so they are in the center position (not left or right or none).
2. The photo you upload first will be at the bottom of the group of photos.
3. With the cursor at the left of the top photo, use the return (enter) key to insert some blank lines.
4. Move the cursor back to the top of the page and start in typing.
5. To write between the uploaded photos, put the cursor at the upper left of a photo, and use the return key again to move the photo down and add lines. Then move the cursor back to wherever you want to write.
5. You can move the photos around once they are uploaded by using the cut (control x) or copy (control c) and paste (control v) functions.
There are probably smoother ways to do it, but trial and error learning doesn't always result in the easiest way.
Good luck!
Marty S
Crackpot Beader
Cool Marty.
I usually do just as you described, except I left click the pics and drag em around. Not a very smooth operation. I don't know why I didn't think of cut and paste.
Boy Susan, you have certainly been having some bad juju. Do you think its a tension situation? I don't weave too much, but usually when my project doesn't turn out the way its supposed to, its usually because I used too much tension.
I have been crocheting and plotting my BJP plan. Both are going well.
Have a great day,
xx, Carol
I was just planning to come to your rescue on the photo issue but I see Marty has already been here! And she did a fabulous job of explaining too...
I sense a little sadness in your past few posts. I know the change of seasons can really affect some people -- maybe there's a way to embrace the snow??? I've been trying to take pictures out in it and creating silly scenarios...just a thought.
Hope you find some delight in your day tomorrow. Sunshine sprinkles, Susan
Post a Comment